How to Play Doodle Crash: Full Doodle Jump Guide
Dive deep into the ultimate Doodle Crash repository. This comprehensive manual meticulously breaks down every interactive button, five distinct grid zone configurations, and the specific win scales associated with each field size. Whether you are a novice or a seasoned tactician, our guide provides low-level interface reviews, step-by-step tactical moves, complete payout matrices, and rigorous SHA-256 provably fair verification protocols to ensure a transparent and optimized gaming experience.
Mastering the Digital Grid Interface
The visual architecture of Doodle Crash is masterfully designed to blend a nostalgic hand-drawn notebook aesthetic with advanced gaming logic. While the interface appears deceptively simple to facilitate fast-paced action, a granular understanding of every on-screen element is crucial for executing high-level strategies and avoiding the common pitfalls of unintentional wagering errors. This section provides an exhaustive review of every active control and informational display within the game environment.
The Strategic Control Panel
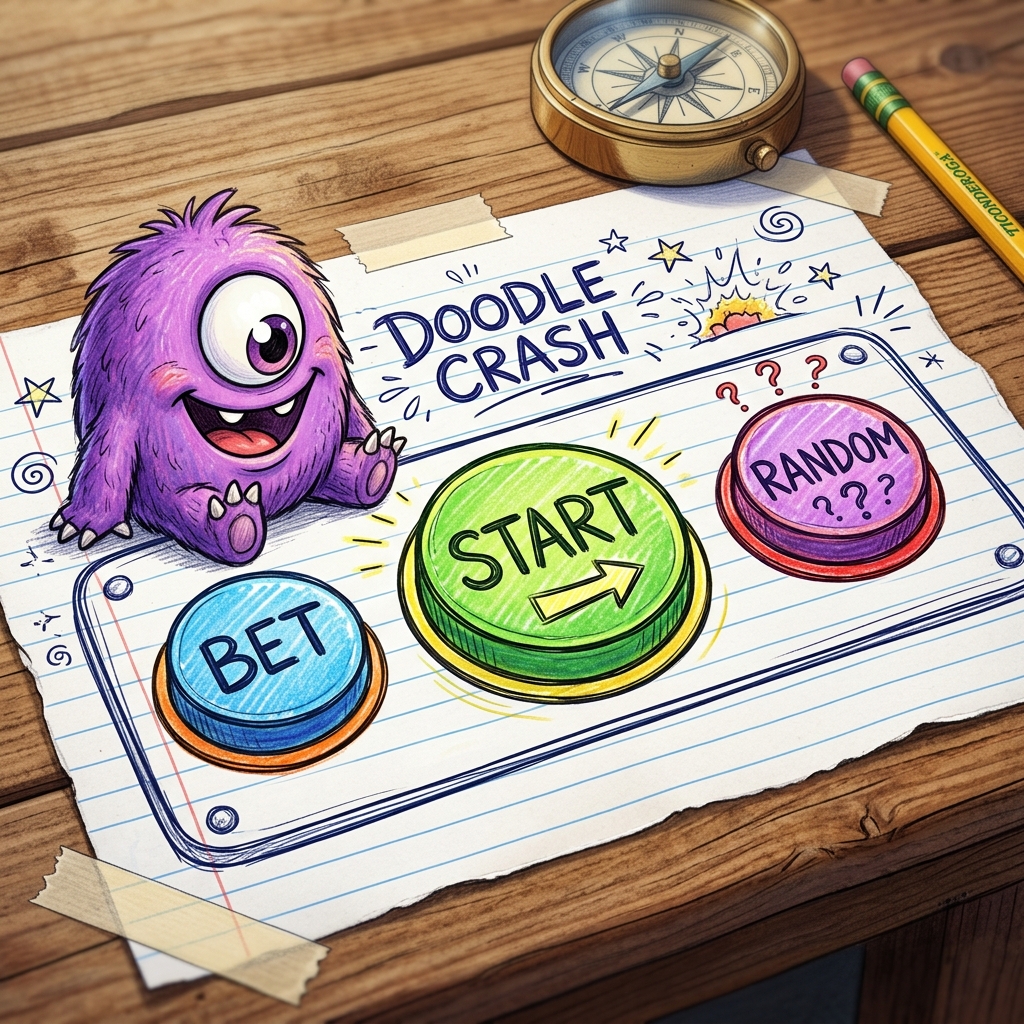
Centrally located at the bottom of the gaming display, the main control panel serves as your dynamic command center for each round. Primary functional elements include the 'Zone Picker' for field selection, the 'Wager' field for precise bet sizing, the 'Start/Play' toggle to initiate rounds, and the 'Random Jump' activator for automated path generation. Each control is engineered for high responsiveness, ensuring that your inputs are processed with zero latency across all supported platforms.
The 'Zone Picker' is your gateway to risk management, allowing you to cycle through five unique grid architectures ranging from the simple 2x3 field to the elite 6x15 grid. Once you commit your bet by pressing 'Start', the stake is securely locked into the round's mathematical engine. It is important to note that all settings, including bet size and zone type, current-session parameters become immutable once the hero makes their initial jump, necessitating careful pre-round planning.
Navigating the Grid Map and Trap Layers
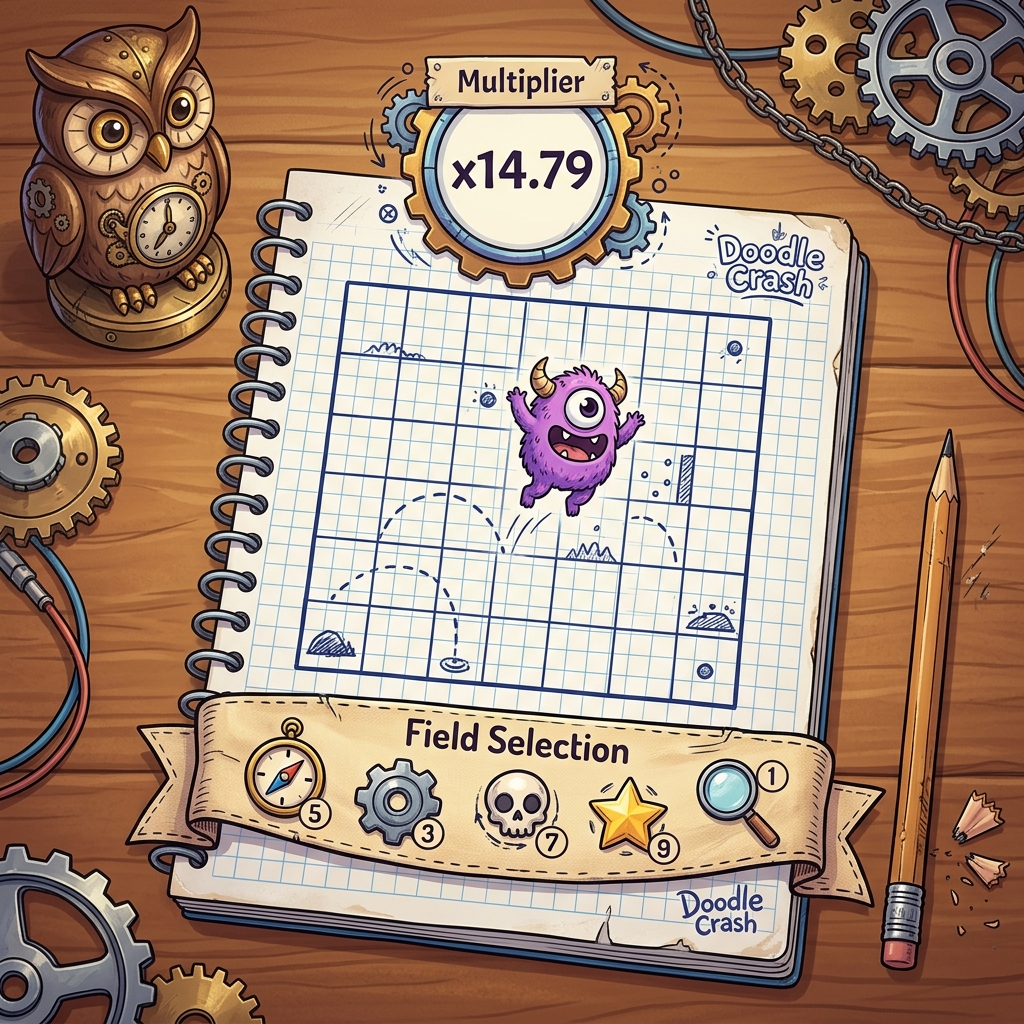
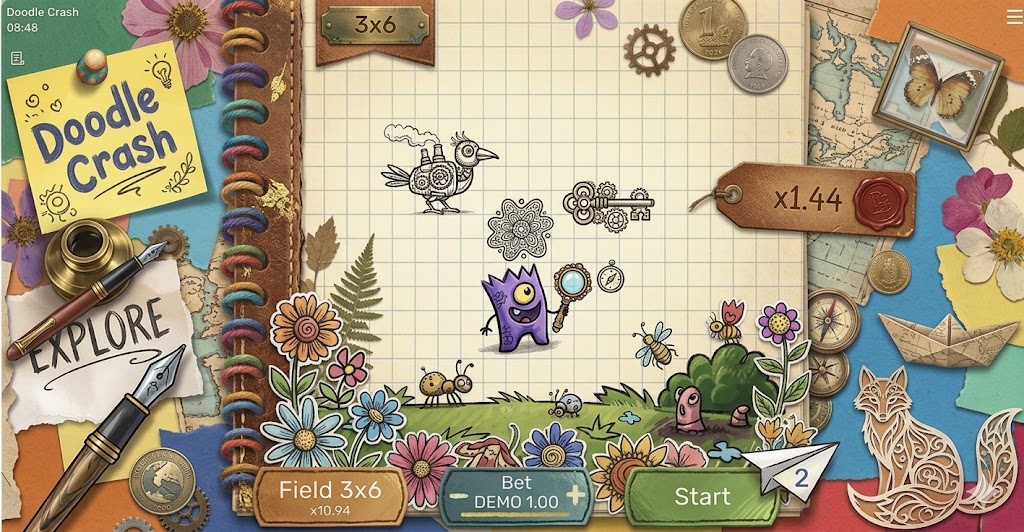
The central gaming theater is dominated by the grid map, where your purple hero makes their ascent. Each level of the grid consists of multiple landing zones, precisely one of which is programmed as a hidden 'trap' by the server's Provably Fair algorithm. These traps remain invisible until triggered, creating a high-stakes environment where path choice is the primary determinant of success. The density of these hazards varies directly with your chosen zone configuration.
For players who prefer a faster gameplay tempo or those who wish to remove the bias of manual selection, the 'Random Jump' tool provides an automated pathing solution. This feature utilizes the game's internal RNG to navigate the grid. Critically, because every round's outcome is mathematically predetermined and encrypted before execution, using the random tool has zero impact on your long-term RTP or individual round winning probabilities—it simply automates the execution of the server's pre-set path.
The 'Collect' or 'Cash Out' button serves as your primary exit strategy. It activates immediately after the first successful jump has been recorded on the grid. Triggering this control instantly terminates the round, secures your accumulated multiplier, and credits the winnings to your bankroll. All payouts are computed by multiplying your initial stake by the current level's coefficient and are rounded to two decimal places for maximum accounting precision.
Metadata Bars and Diagnostic Tools

Positioned just below the active grid, the metadata bars provide real-time feedback on your current session, including your active zone size, the specific unit bet for the round, and high-frequency toggles for audio and visual settings. This layout is dynamically responsive, automatically reconfiguring its geometry for mobile portrait and landscape modes to ensure that critical controls remain within easy reach on touch-screen devices.
The integrated 'Game Log' (History) is more than just a record of past rounds; it is a vital tool for transparency. Each entry details the timestamp, wager, chosen field, final multiplier achieved, and most importantly, the unique SHA-256 server hash and salt. This data allows pro players to manually verify the integrity of any round result using external cryptographic calculators, proving that the game was fair and untampered.
For a deeper dive into the game's core architecture, the 'Game Rules' section provides an exhaustive paytable matrix for every possible field configuration. This area is updated in real-time to reflect the latest version 1.0.4 build specifications, ensuring that you are always working with the most current data regarding the SmartSoft Gaming math engine and the implementation of its Provably Fair protocols.
Exhaustive Review of Grid Zone Architectures
Your selection of a grid zone is the single most influential decision you will make in Doodle Crash. Each of the five field configurations is defined by unique risk-to-reward ratios, jump success probabilities, and long-term Return to Player (RTP) percentages that dictate the overall session volatility.

2x3 Zone (Low Density Protocol)
The entry-level field designed for high-frequency, low-variance play. Utilizing a binary choice model (50% theoretical success rate per jump) across only 3 levels, it offers a peak multiplier of x7.68. This zone is calibrated for an RTP of 95.83% and is the ideal testing ground for new players to familiarize themselves with the game mechanics without significant exposure.
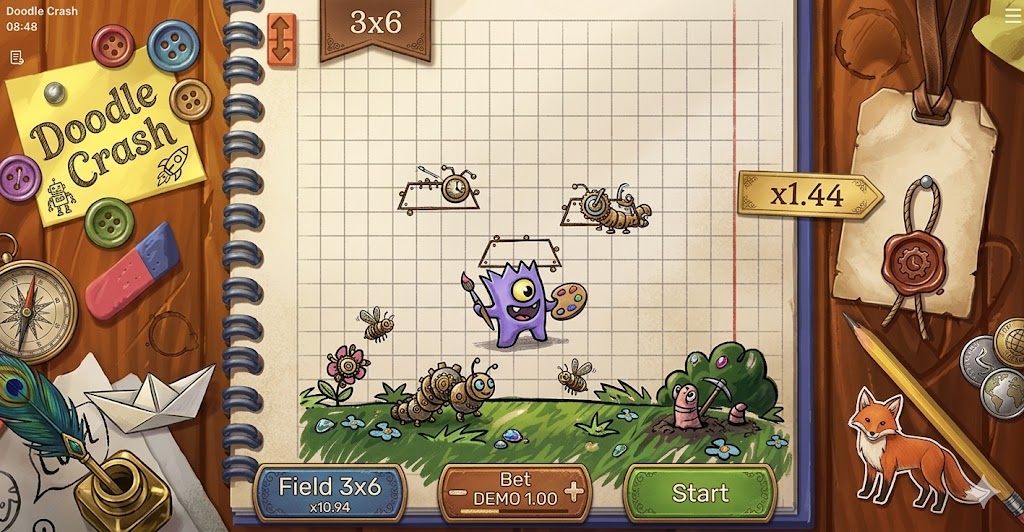
3x6 Zone (Solid Density Protocol)
A balanced field architecture featuring three landing spots per level across six horizontal rows. With a 66.67% probability of a successful jump per layer, this zone offers a smoother winning curve. Reaching the terminal level yields a x10.94 return, making it the preferred choice for players who favor longer game sessions with moderate risk profiles.

4x9 Zone (Mid Intensity Protocol)
A statistically complex field offering a 75% theoretical win rate per jump step across nine layers. While individual jump risks are lower compared to high-density grids, the cumulative probability of clearing all nine layers successfully presents a significant challenge. This zone rewards patient tacticians with a robust top-tier multiplier of x12.79.
5x12 Zone (Fast Intensity Protocol)
An extended field configuration with an 80% theoretical success rate per jump. This high-density grid is designed for players who utilize aggressive Level 1-5 cash-out strategies, as the lower initial risk allows for larger wagers. Clearing all 12 levels requires exceptional timing and nerves, rewarding the effort with a x13.97 jackpot.

6x15 Zone (Elite Intensity Protocol)
The peak of the Doodle Crash experience. Featuring an 83.33% theoretical success rate per jump and the game's highest RTP of 96.26%, this massive field offers the greatest strategic depth. Navigating all 15 levels successfully unlocks the game's maximum payout of x14.79, making it the primary objective for elite-level players.
Standard Operating Procedure for Successful Jumps
Initiate your high-stakes journey on any authorized partner platform by following these meticulously engineered steps to ensure maximum control over your session:
-
Phase 1: Grid Zone Calibration
Locate the Doodle Crash title within the casino lobby. Before placing any wagers, use the 'Zone Picker' to select the field architecture that matches your technical skill and risk tolerance. We recommend new players begin with the 2x3 grid to understand the fundamental jump response timing.
-
Phase 2: Finalizing Your Unit Stake
Define your wager using the precision plus/minus controls on the main panel. Ensure that your bet size aligns with established bankroll management principles (typically 2-5% of total session capital). Once you engage the 'Start' button, the transaction is immutable and the round begins.
-
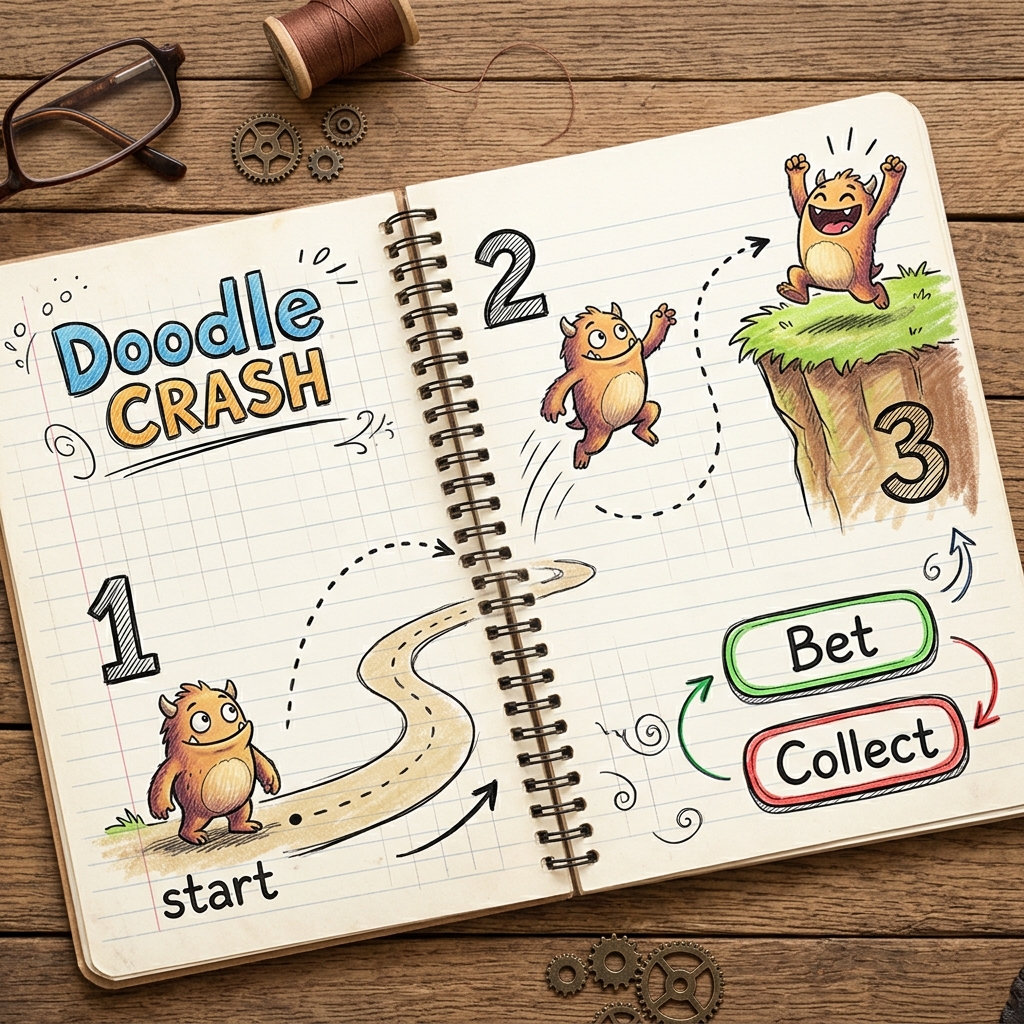
Phase 3: Round Initiation and Hero Deployment
Execute the 'Start' command. Your wager will be deducted from your active balance, and the server will initialize the round's unique seed. Your hero will appear at the grid's base, ready for the initial ascent into the notebook world.
-
Phase 4: Executing Tactical Jumps
Progress through the layers by manually clicking your preferred landing zone or activating the 'Random Jump' algorithm. Each successful landing increments your active multiplier. Be aware that landing on a trap instantly terminates the round and forfeits the current stake.
-
Phase 5: Critical Decision Point
After every successful level transition, you are presented with a binary choice: proceed to the next layer for a compounded reward or trigger the 'Collect' protocol to lock in your current gains. This decision should be governed by your pre-session profit targets and risk threshold.
-
Phase 6: Result Verification and Audit
Review the finalized round data in the 'Game History' module. Record the provided SHA-256 hash and server salt if you intend to perform an independent fairness audit to confirm the mathematical integrity of the result.
Comprehensive Win Scale and Multiplier Analysis
Multiplier growth in Doodle Crash is governed by immutable SmartSoft Gaming algorithms that are hard-coded into the game engine. These payout scales are standardized across all authorized platforms and cannot be modified by site operators. All calculations are carried out with high precision and rounded to two decimal points for final credit to your balance.
Divergence Coefficient: Multiplier Trajectories
2x3 Grid (Standard Multipliers)
| Tier | Coefficient |
|---|---|
| 1 | x1.92 |
| 2 | x3.84 |
| 3 | x7.68 (Jackpot) |
3x6 Grid (Standard Multipliers)
| Tier | Coefficient |
|---|---|
| 1 | x1.44 |
| 2 | x2.16 |
| 3 | x3.24 |
| 4 | x4.86 |
| 5 | x7.29 |
| 6 | x10.94 (Jackpot) |
4x9 Grid (Standard Multipliers)
| Tier | Coefficient |
|---|---|
| 1 | x1.28 |
| 2 | x1.70 |
| 3 | x2.27 |
| 4 | x3.03 |
| 5 | x4.04 |
| 6 | x5.38 |
| 7 | x7.18 |
| 8 | x9.57 |
| 9 | x12.79 (Jackpot) |
5x12 Grid (Standard Multipliers)
| Tier | Coefficient |
|---|---|
| 1 | x1.20 |
| 2 | x1.50 |
| 3 | x1.87 |
| 4 | x2.34 |
| 5 | x2.93 |
| 6 | x3.66 |
| 7 | x4.57 |
| 8 | x5.72 |
| 9 | x7.15 |
| 10 | x8.93 |
| 11 | x11.17 |
| 12 | x13.97 (Jackpot) |
6x15 Grid (Standard Multipliers)
| Tier | Coefficient |
|---|---|
| 1 | x1.15 |
| 2 | x1.38 |
| 3 | x1.66 |
| 4 | x1.99 |
| 5 | x2.39 |
| 6 | x2.87 |
| 7 | x3.44 |
| 8 | x4.13 |
| 9 | x4.96 |
| 10 | x5.95 |
| 11 | x7.14 |
| 12 | x8.57 |
| 13 | x10.28 |
| 14 | x12.34 |
| 15 | x14.79 (Jackpot) |
Rigorous Procedural Guide for Fairness Verification

The SHA-256 Cryptographic Architecture
Prior to the initiation of any round, the server's backend generates a comprehensive 'win path' (the locations of all platform traps) and encrypts this data into a unique SHA-256 hash. This hash string is exposed to the player's client via the informational interface. Upon the round's completion, the raw 'Server Key' (the original, unencrypted string used to generate the hash) is released. By hashing the Server Key using an independent SHA-256 calculator, players can confirm that the resulting code perfectly matches the pre-round hash, thereby proving absolute mathematical neutrality.
Audit Protocol
- Access your 'Game History' module immediately following the conclusion of any round.
- Securely extract the 'Server Key' associated with the round you wish to audit.
- Input this key into any open-source SHA-256 cryptographic calculator available online.
- Conduct a character-by-character comparison of the calculator's output against the pre-round hash shown in your log.
Tactical Optimization and Bankroll Preservation
While no external strategy can alter the fixed mathematical house edge, adhering to these professional operating protocols can significantly extend your session duration and optimize your risk-to-reward ratio.
Low-Impact Calibration Mode
Dedicate the initial 20-30 rounds of any new session to ultra-low wagers. This allows your cognitive systems to adjust to the grid's specific jump response lag and provides a real-world feel for the current trap density patterns without significant financial risk.
Grid Configuration Specialization
Select a single grid zone size and commit to it for a minimum of 50 rounds. Constant switching between field architectures can destabilize your tactical instincts and prevent you from properly calculating the timing of mid-level multipliers.
Profit Target Formalization
Explicitly define your session-wide profit goal and individual round exit multipliers (e.g., x2.16) before you engage the grid. This mechanical approach prevents the detrimental impact of dopamine-driven decision-making during high-win streaks.
Factoring in the Decimal Rounding Gradient
Always account for the small house-edge accumulation caused by decimal rounding on payouts. While negligible in single rounds, over thousands of jumps, this mathematical reality necessitates a slightly higher exit multiplier to maintain a balanced net session history.
Operational FAQ for Advanced Players
What is the certified mathematical foundation behind the game's fairness?
Doodle Crash operates with a certified RTP range of 95.83% to 96.26%, depending on the specific grid configuration selected. These statistics are derived from billions of simulated rounds and are audited by independent labs to ensure compliance with global iGaming standards for RNG integrity and transparency.
Are mid-round wagering adjustments permitted inside any grid configuration?
No. To maintain the integrity of the round's pre-calculated seed and hash, the unit stake and zone size parameters are locked immediately upon initiation. No mid-round adjustments can be performed until the current session is terminated either through a crash or a successful collection.
How can a player independently verify the post-round results using SHA-256?
Players can navigate to their personal game log, retrieve the round-specific Server Key, and input it into a standard cryptographic calculator. The resulting hash must perfectly correlate with the pre-round hash provided by the game client, confirming that the result was mathematically fixed and untampered.